1. Make sure that the club face and grooves are clean. Also check that the tungsten carbite “wedge” in the marking tool is properly square to the axis of the tool and securely fixed. If not, adjust with the Allen key provided.
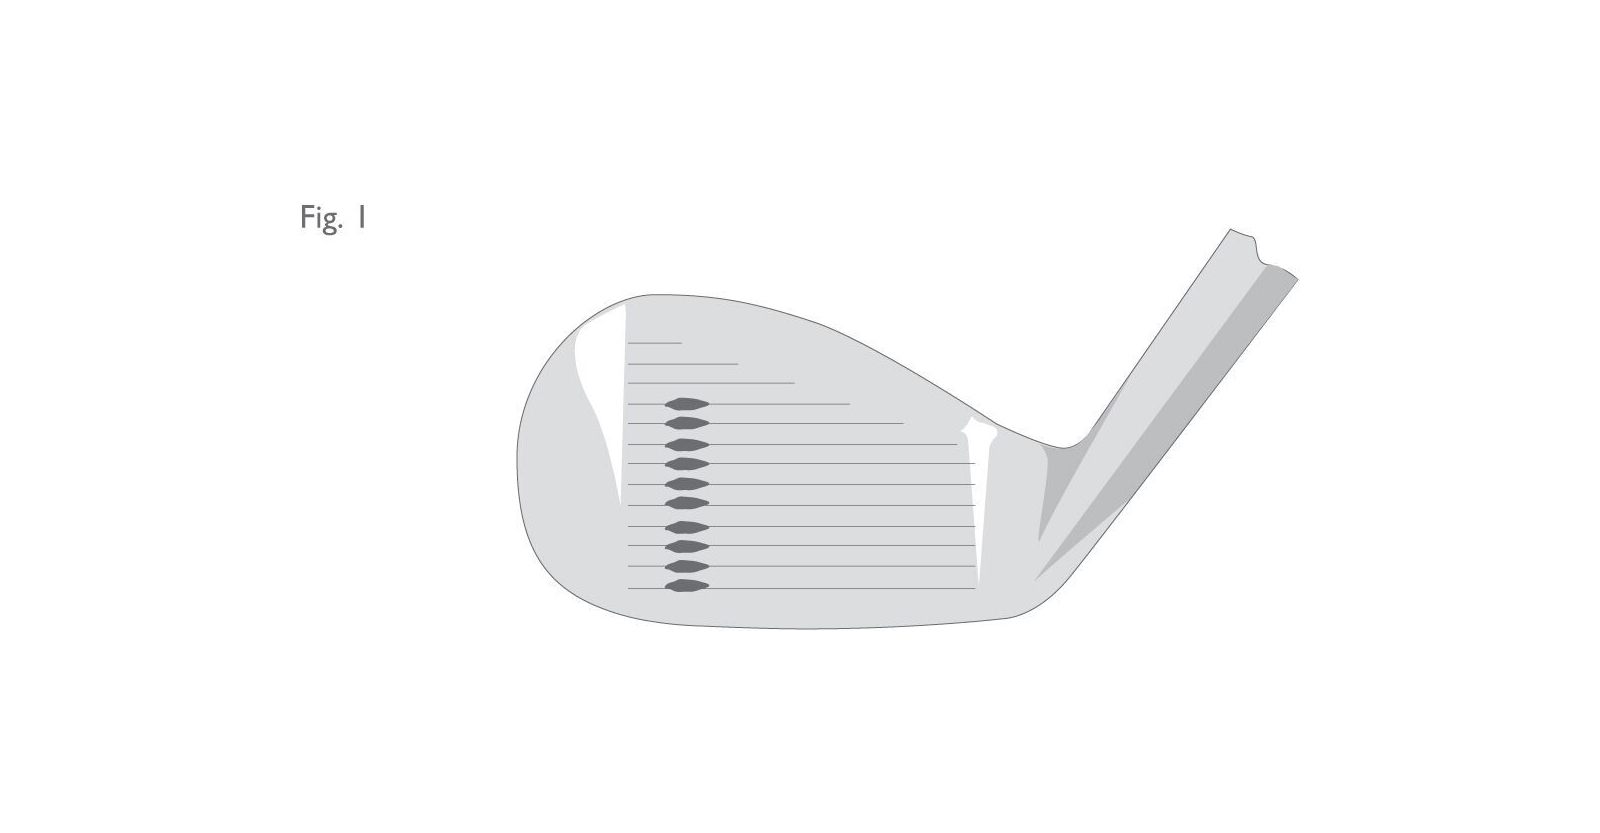
2. Use the marker pen to coat a 0.25 to 0.5 inch (5 to 10 mm) width of the edges of ten grooves (and the nearby part of the flat area between them), making sure that the ink gets down into the grooves. The inked pattern thus formed should lie in a line running from sole to top edge of the club face. For new clubs do this about 0.5 inches (10 mm) to one side of the centre of the face (See Figure 1 below). For used clubs do it near the toe, but not at the very end of the grooves (but see also Paragraph 13).

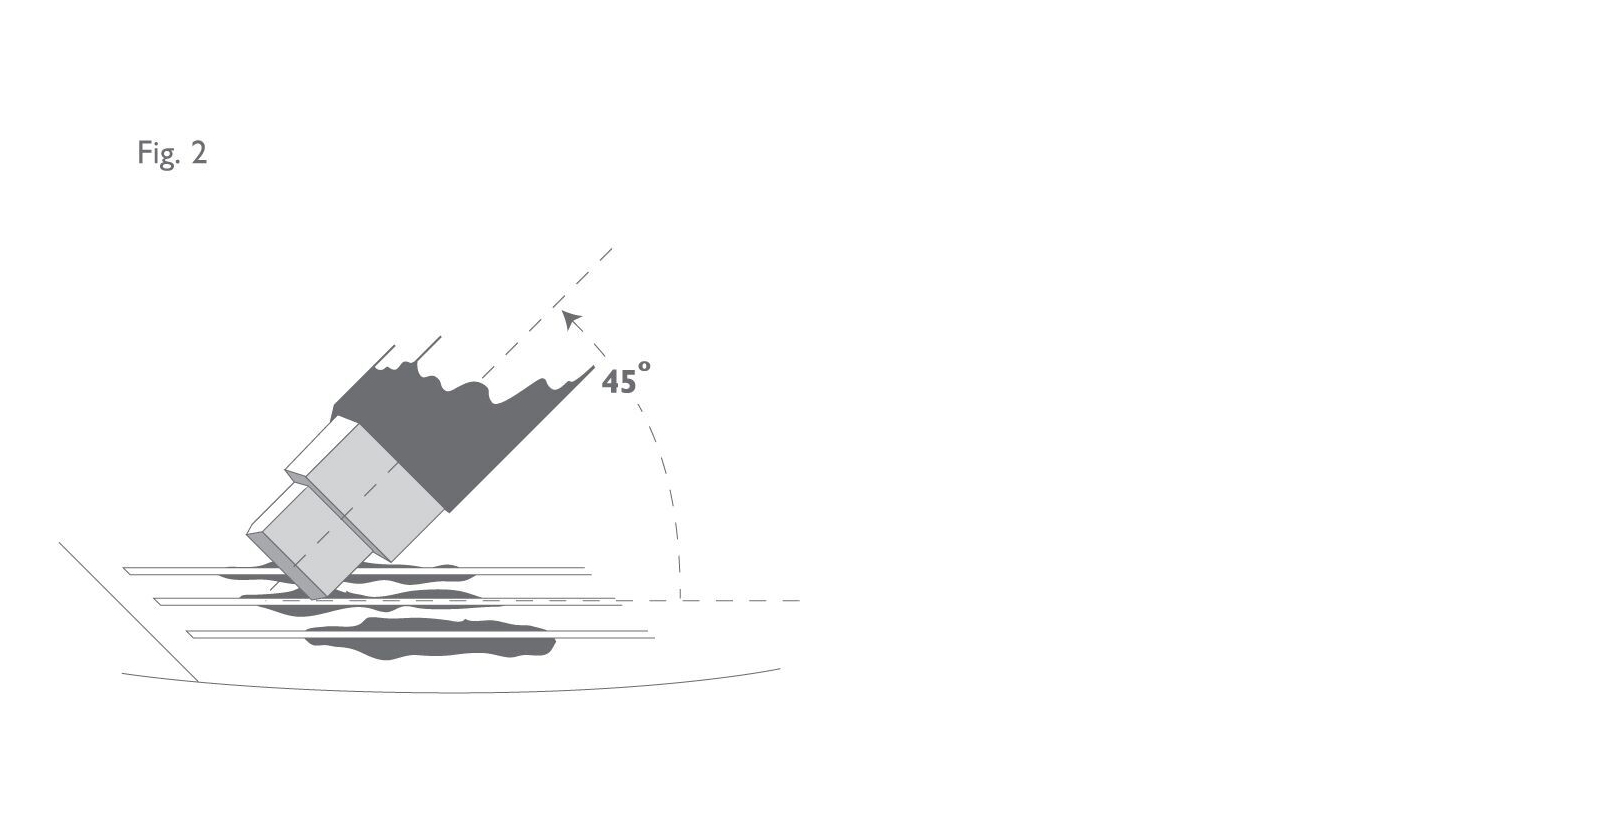
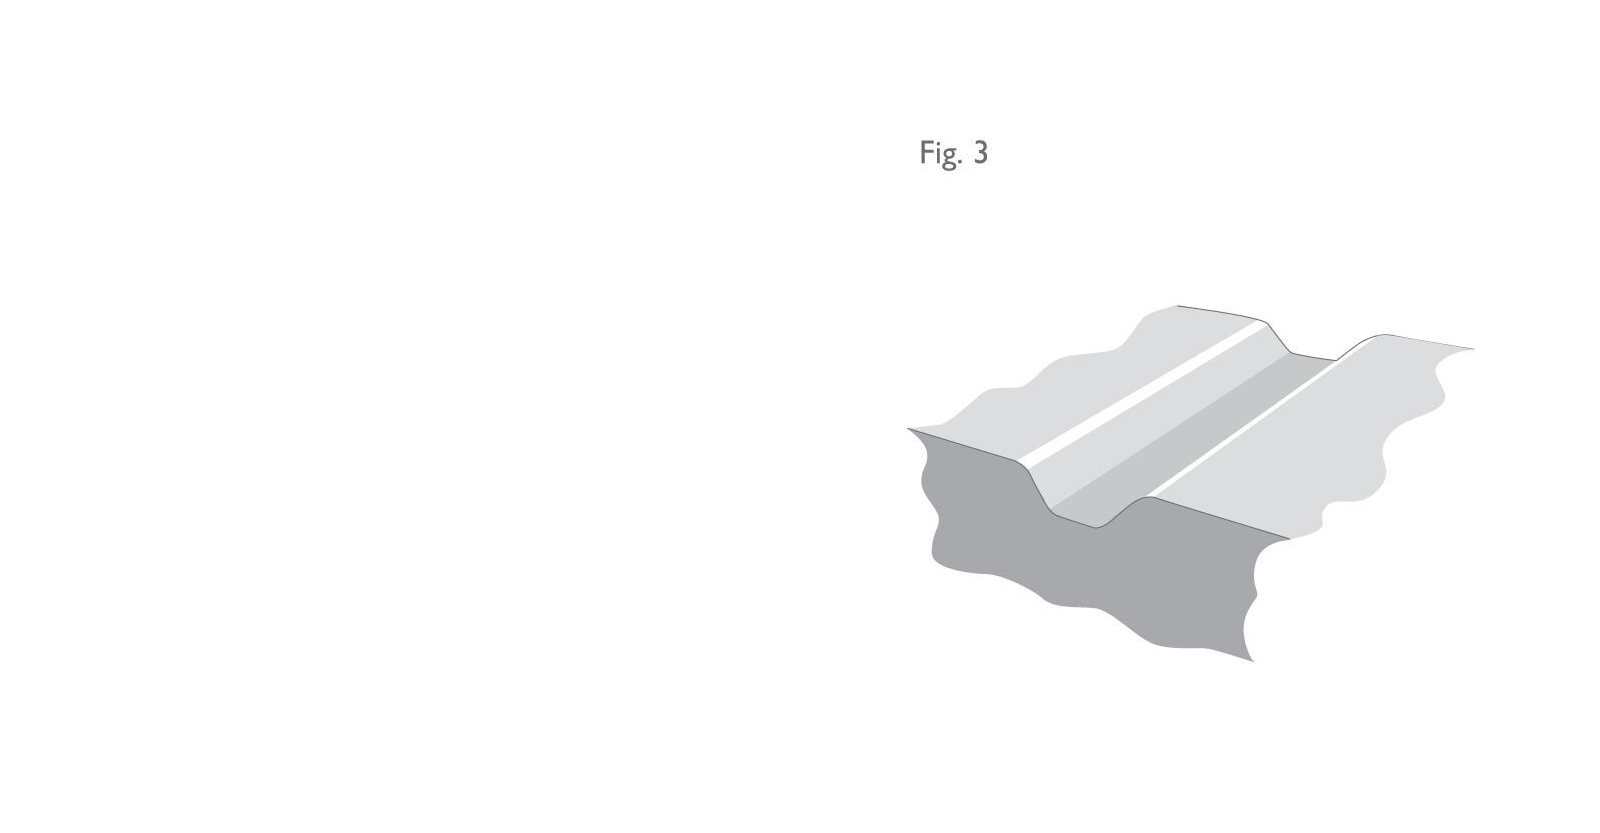
3. When the ink is dry take the marking tool, hold it like a pencil at about 45° to the club face and insert the pointed corner of its tip into one of the blackened grooves. (See Figure 2 below) Using firm but not too heavy pressure, pull the tool along the groove for about 0.25” (5 mm). Two narrow bright lines of exposed metal should now be visible, one on each side of the groove denoting the position of the edges of the grooves. (See Figure 3).
Do the same for all ten blackened grooves.

